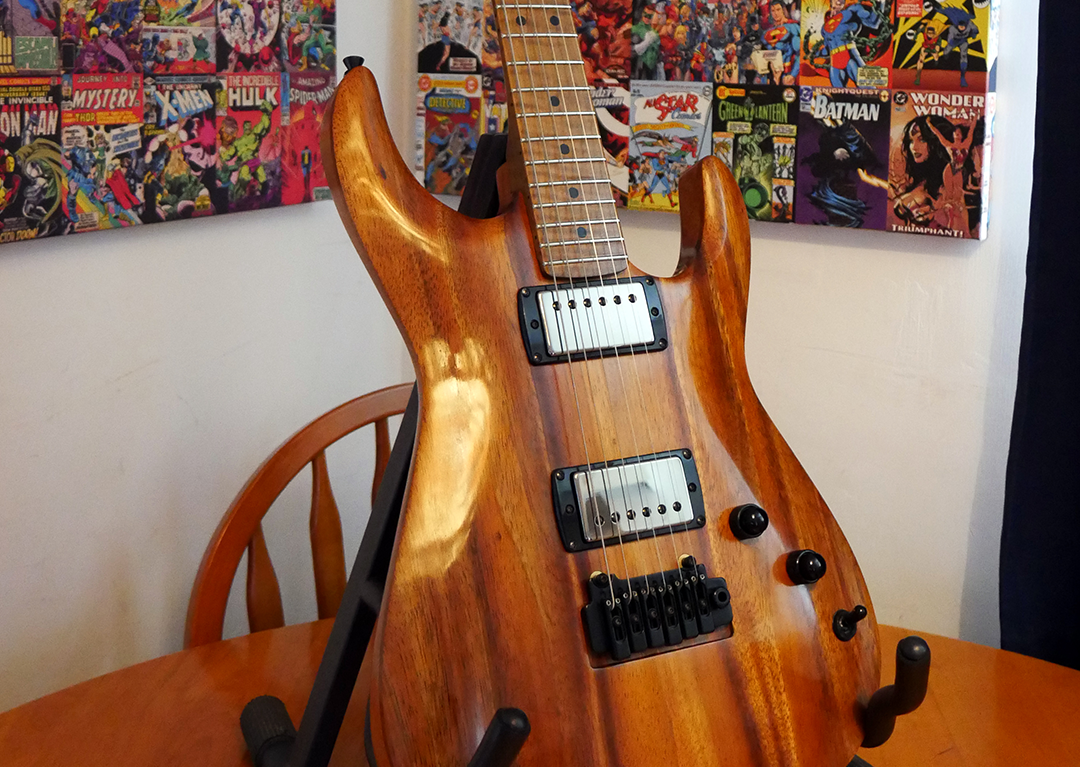
Lockdown, meet the garage.
Working in the garage during lockdown became a way to learn and stay sane. With no woodworking experience, the damaged, sealed and stained body was stripped, a horn contour corrected, and a stubborn pore-filling process pursued.
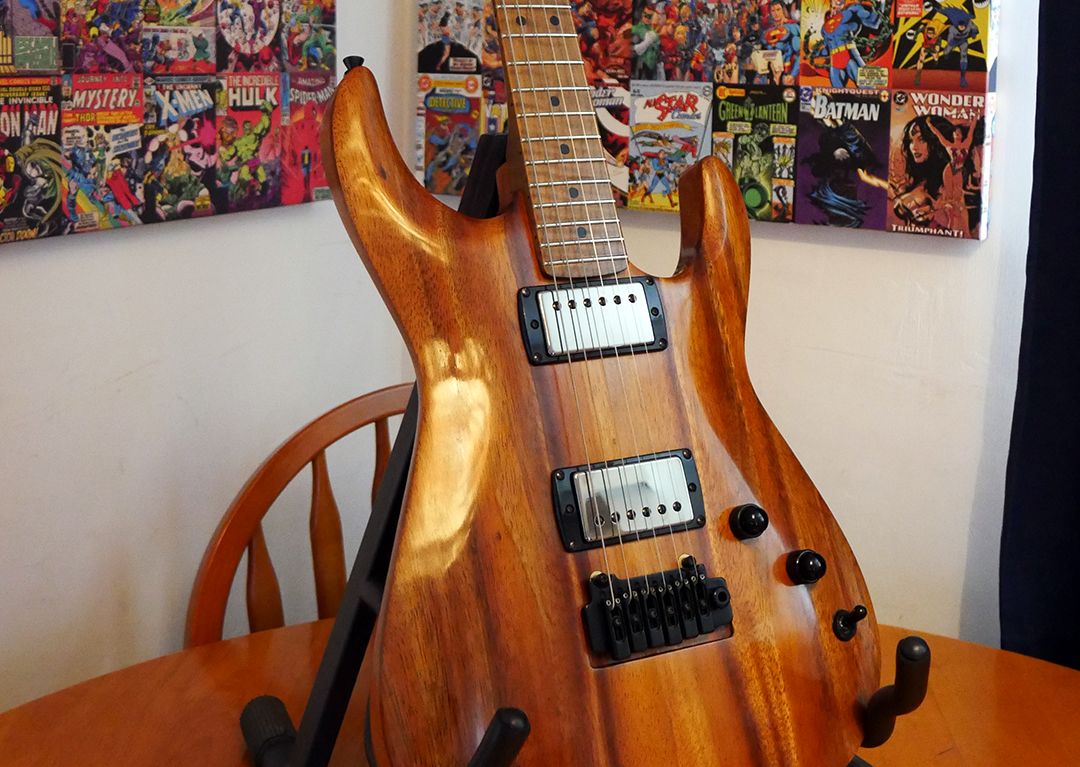
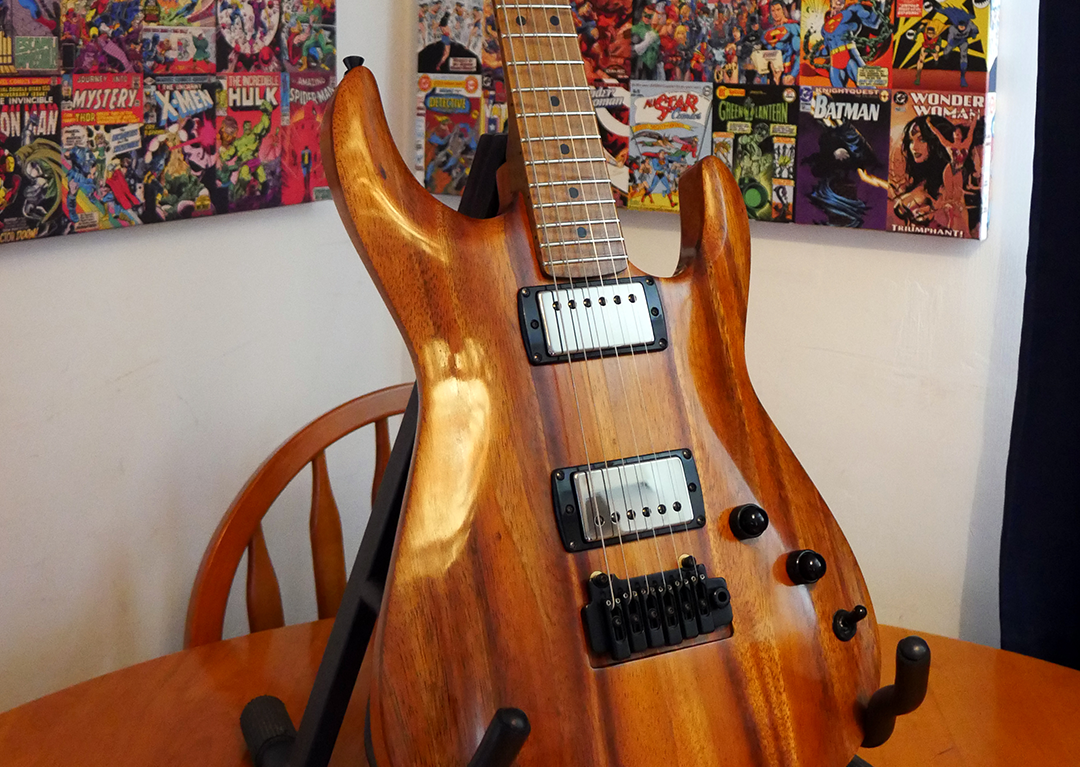
Named Coca Koa, the guitar was finished with vintage 1987 PRS HFS/VB pickups, a recessed Schaller tremolo and the roasted flame maple Warmoth neck from the Strat. Completed August 2020 and played daily within a week.
Three and a half months in a box
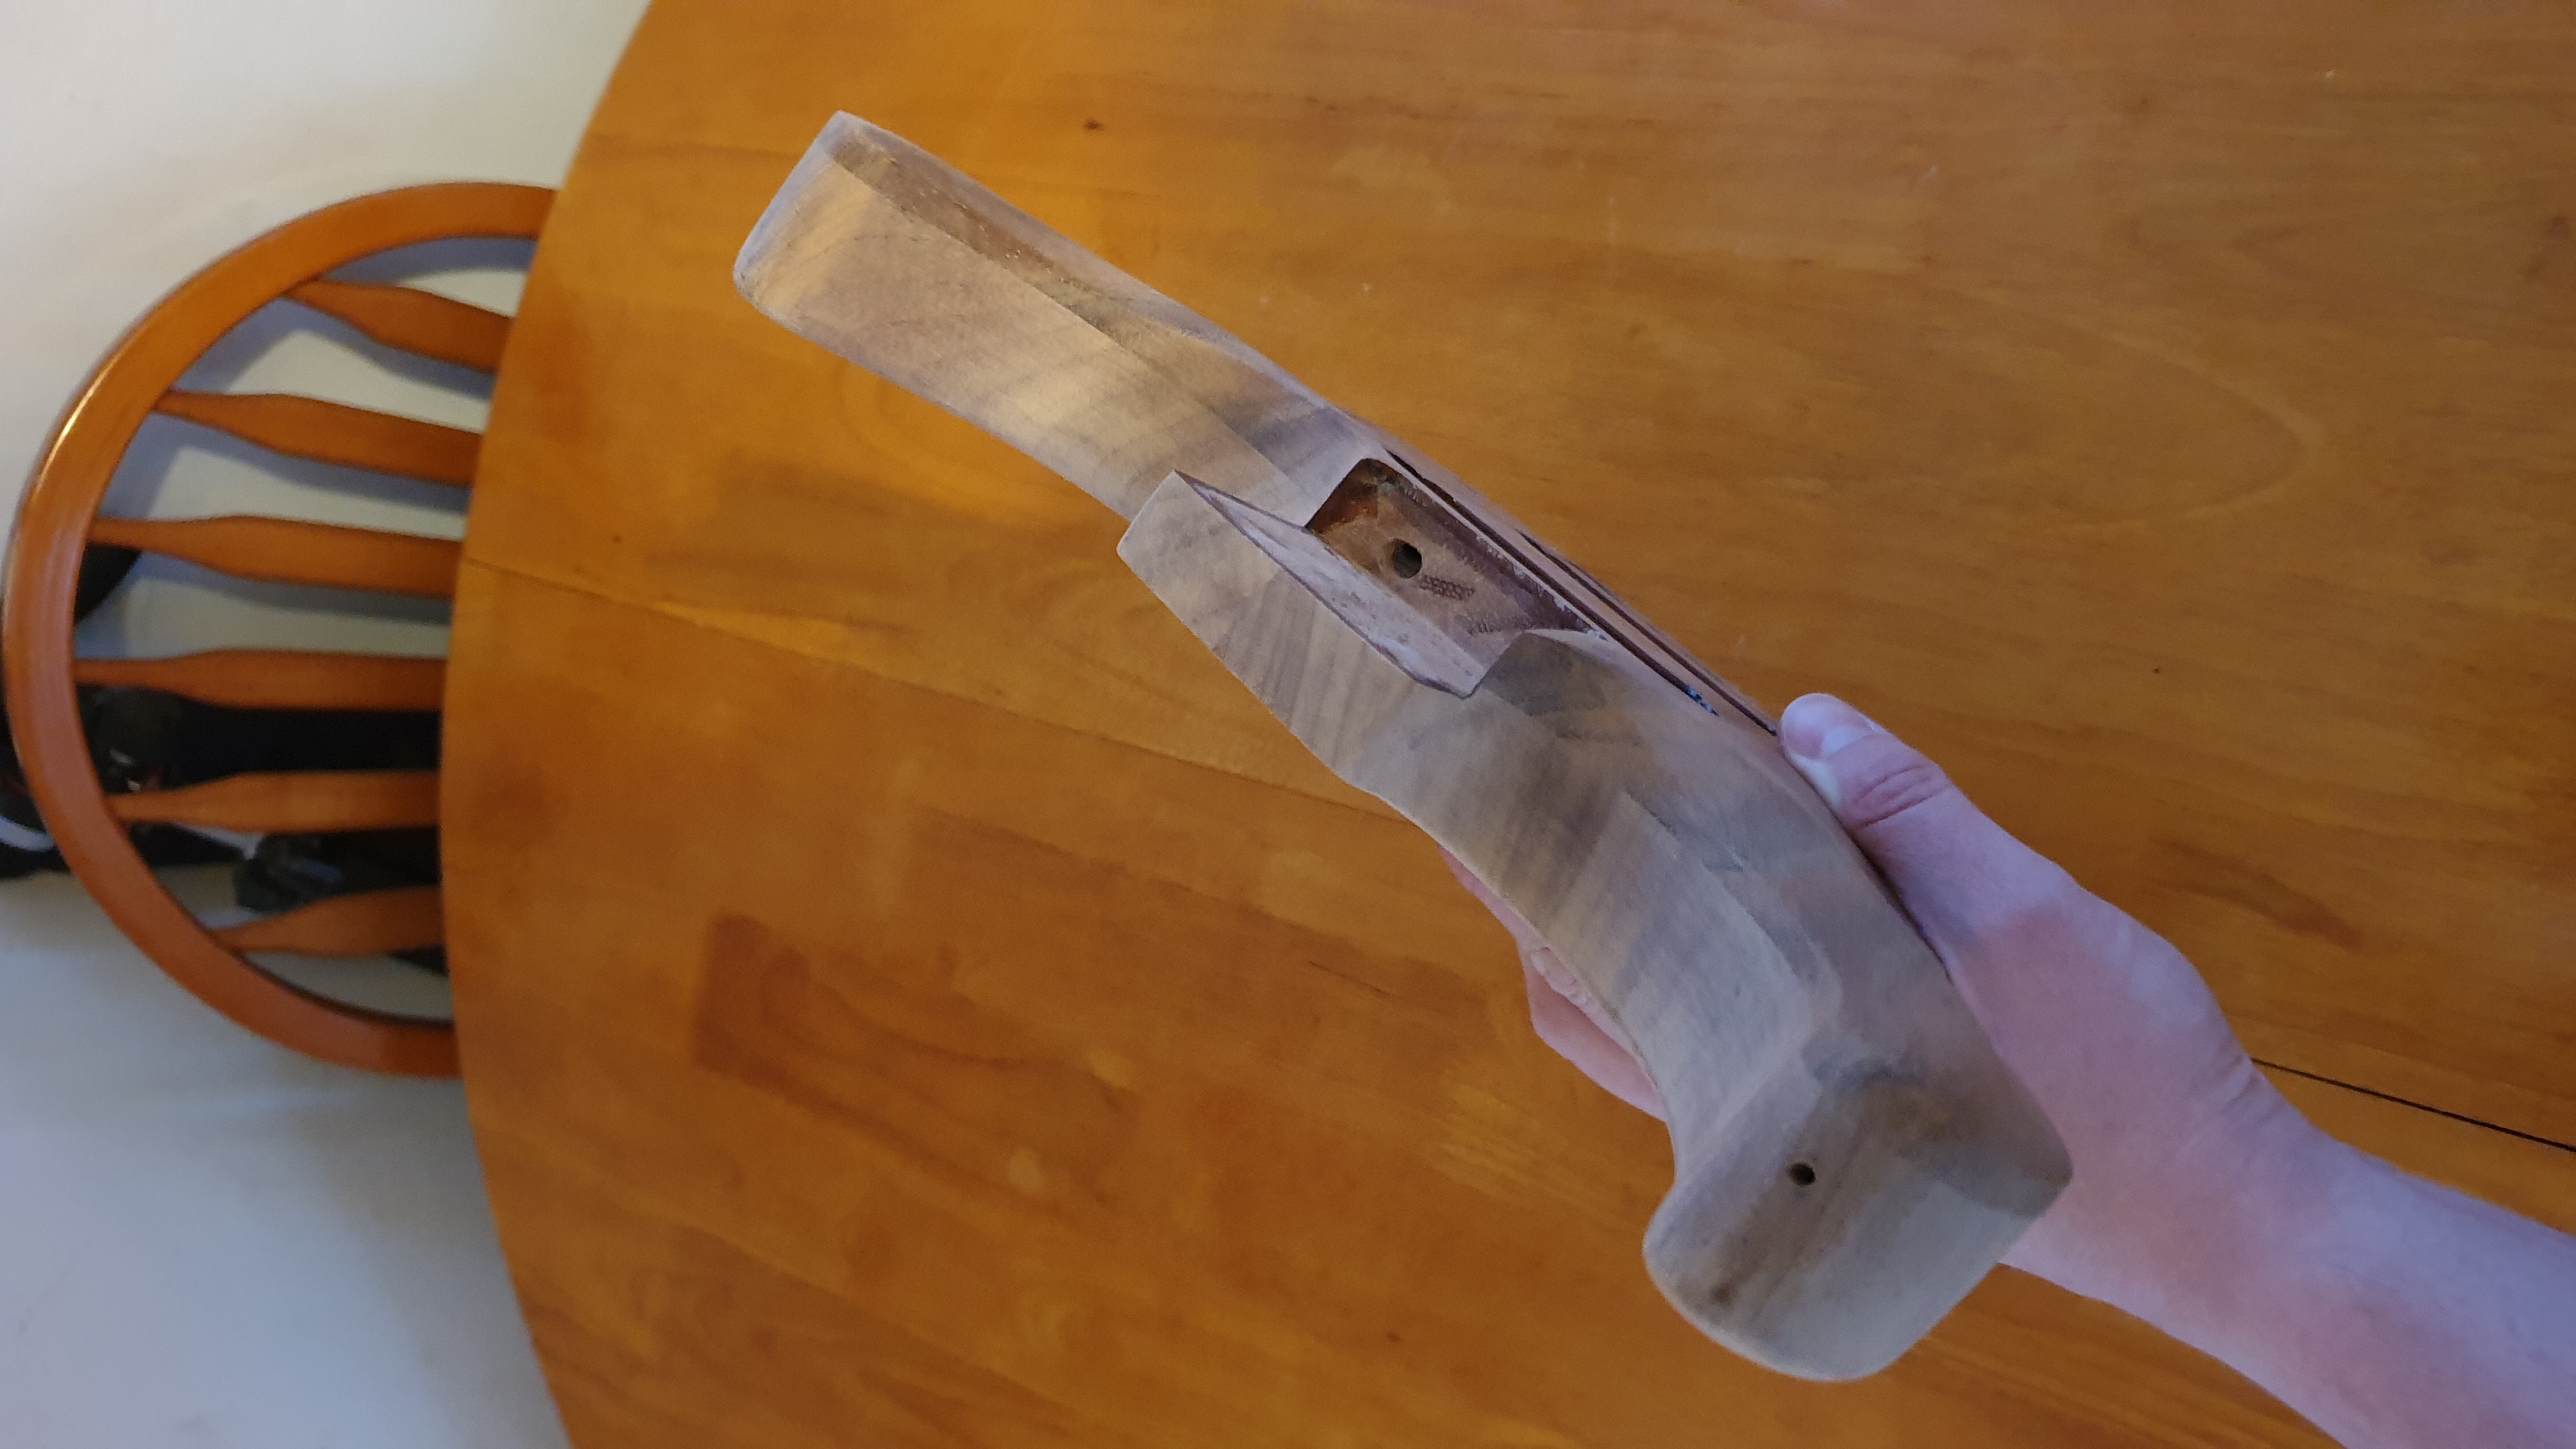
I'd bought this Warmoth mahogany Soloist with a flamed koa top cheaply from Paul in Australia just before COVID hit. It took three and a half months to arrive, in a crushed box, with a ding on the top horn.
My first repair attempt failed: the clear nail varnish I used to fill the ding never cured. By then the Strat had a different body anyway, so this one was spare.
I had no woodworking experience and owned a few sheets of sandpaper. But I had a goal: strip it back and give it a natural, lacquer-free Tru-Oil finish.
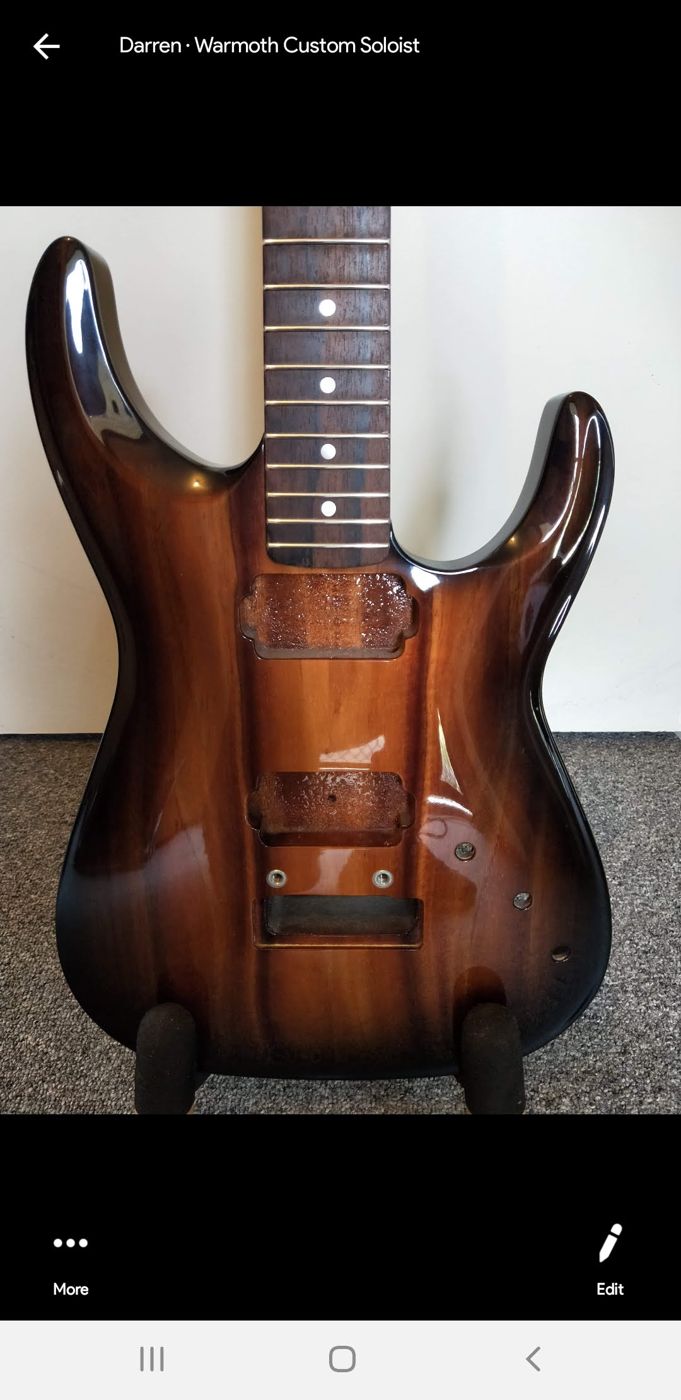
Stripping back
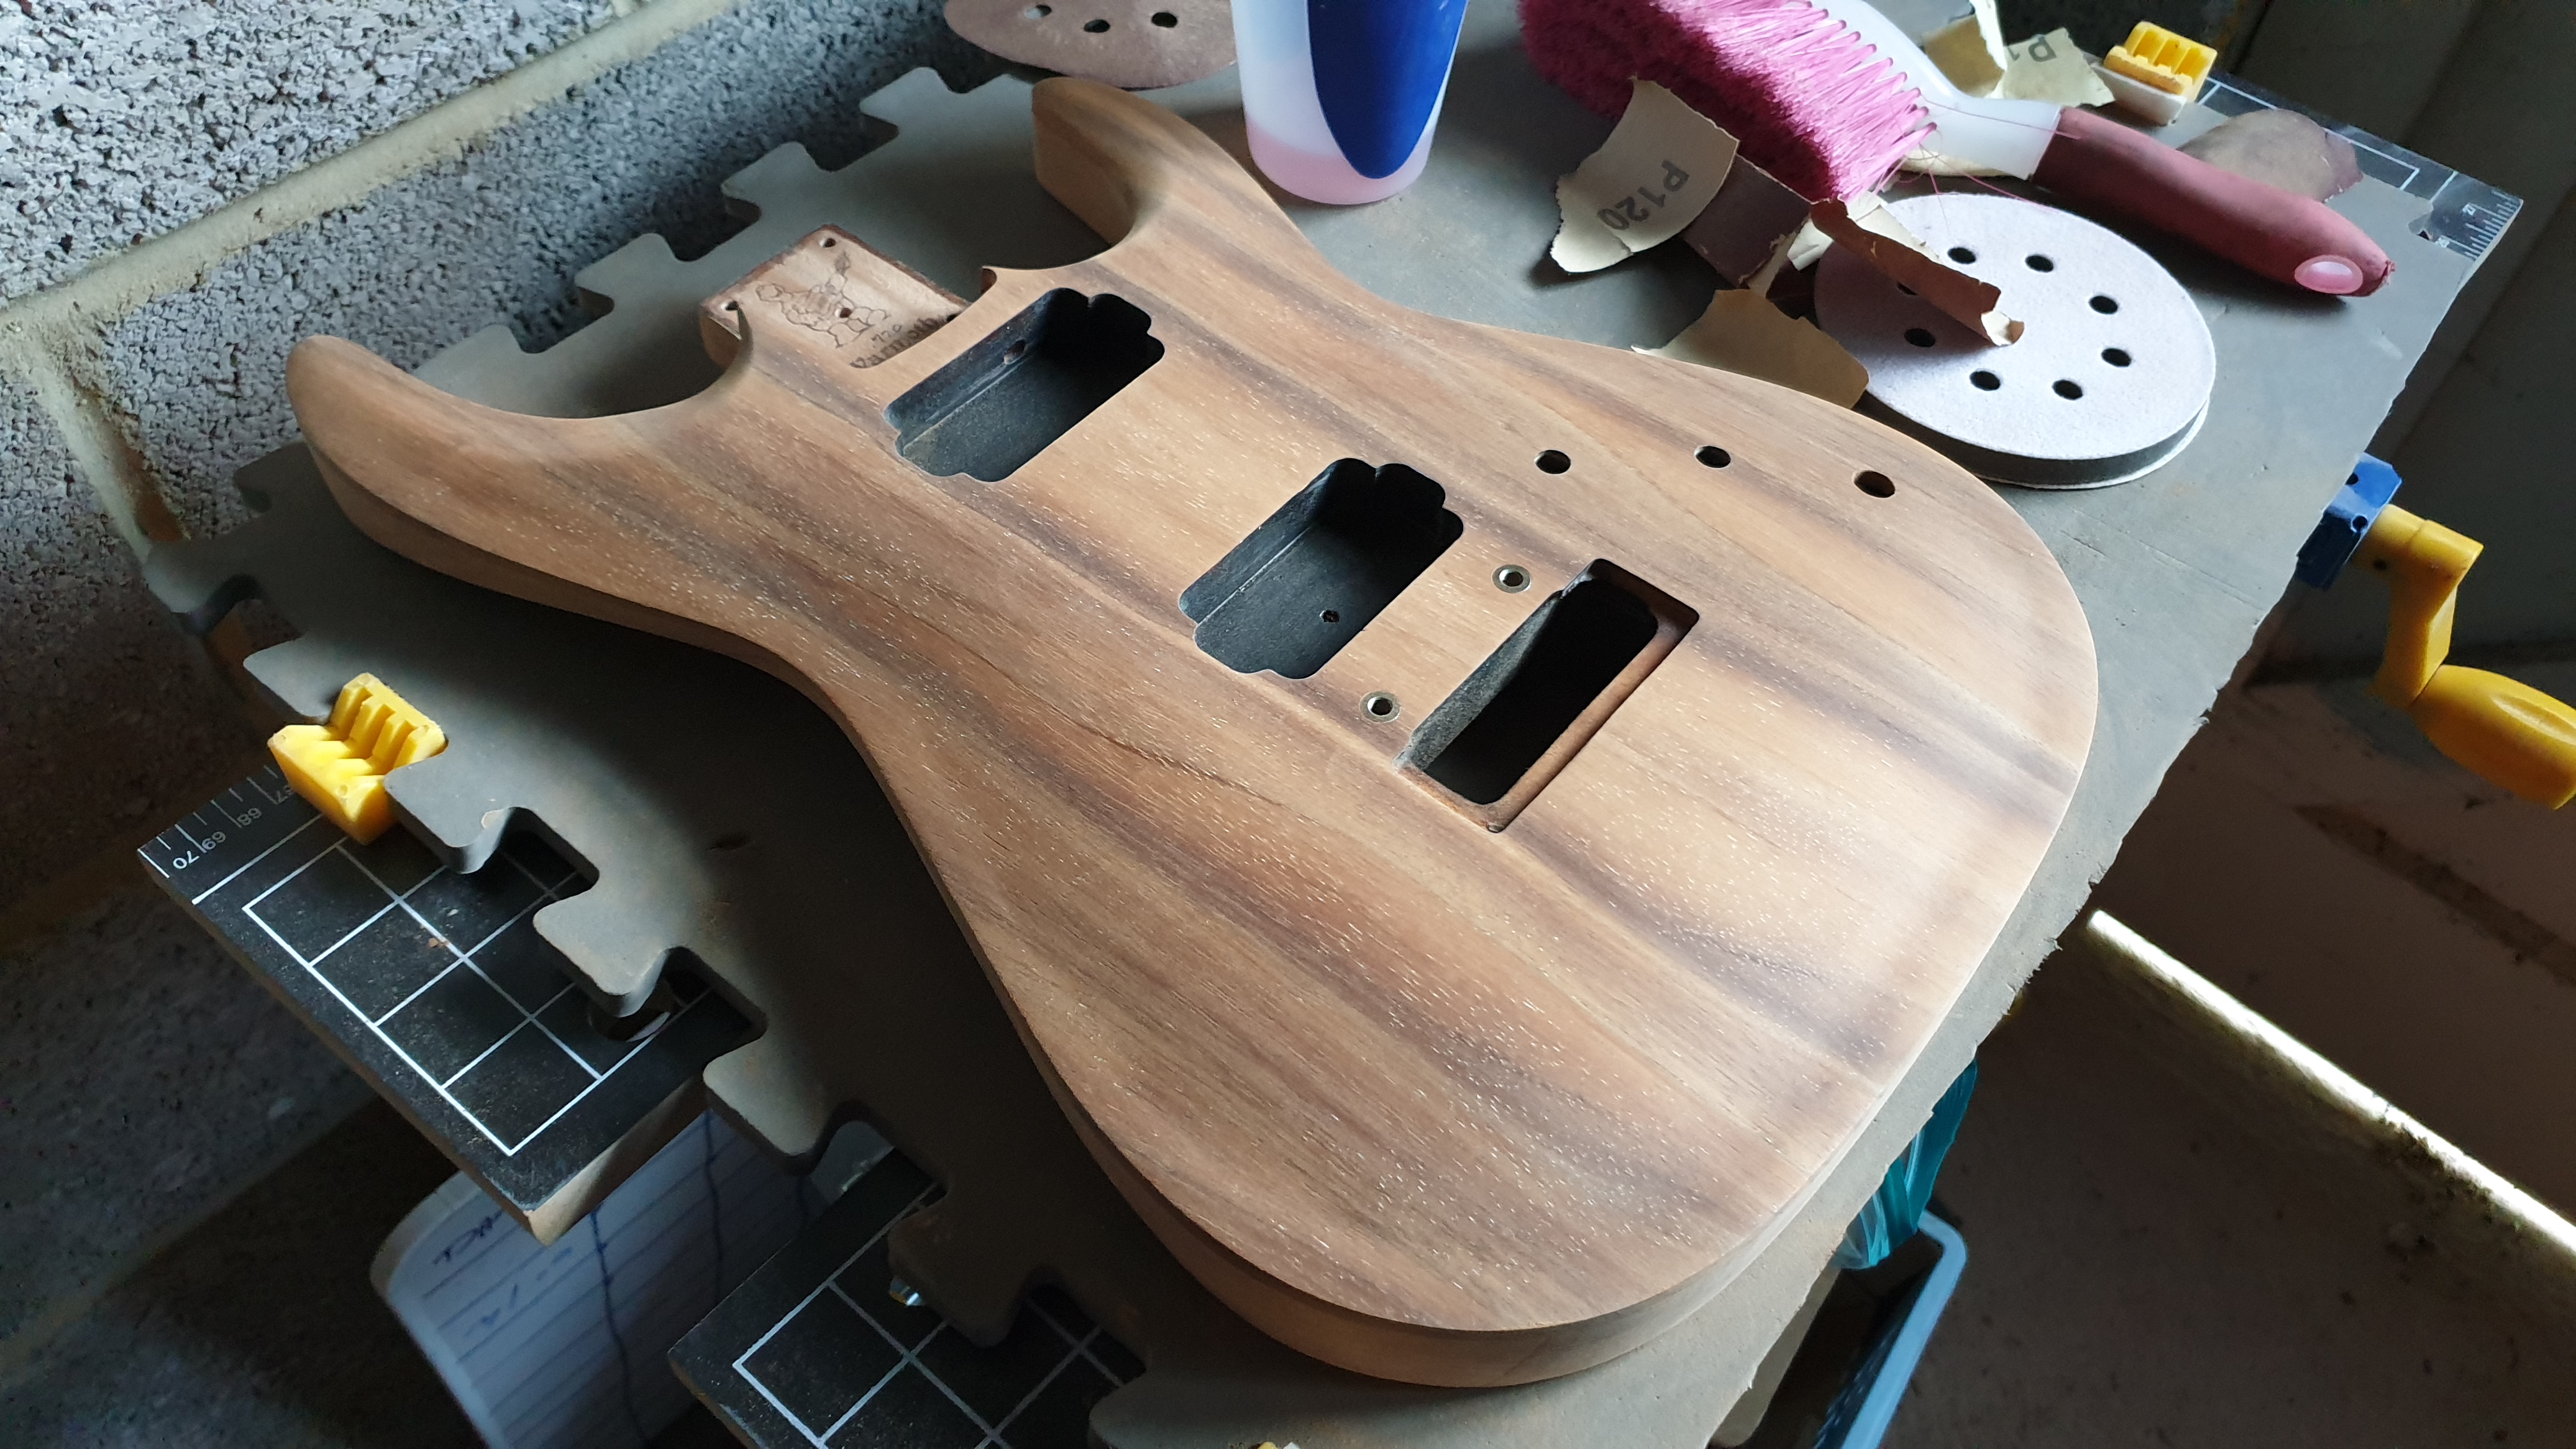
The finish was far thicker than I'd expected: lacquer and paint on the front, paint alone on the back. Sandpaper by hand wasn't going to cut it, so I bought a random orbital sander, and then discovered there was sealer and stain underneath as well.
I learnt quickly. Taking off the interface pad and working at an angle made the orbital far more effective, and I did the horns by hand. The right-hand horn's sweep stopped about 50mm short of the neck pocket, so I reworked the contour while I was there.
At 3am the next night I had an idea: use the spare interface pad as a hand pad to level out the waviness the orbital had left. It worked. Lockdown with two young kids was intense, and an hour in the garage with a beer kept me sane.
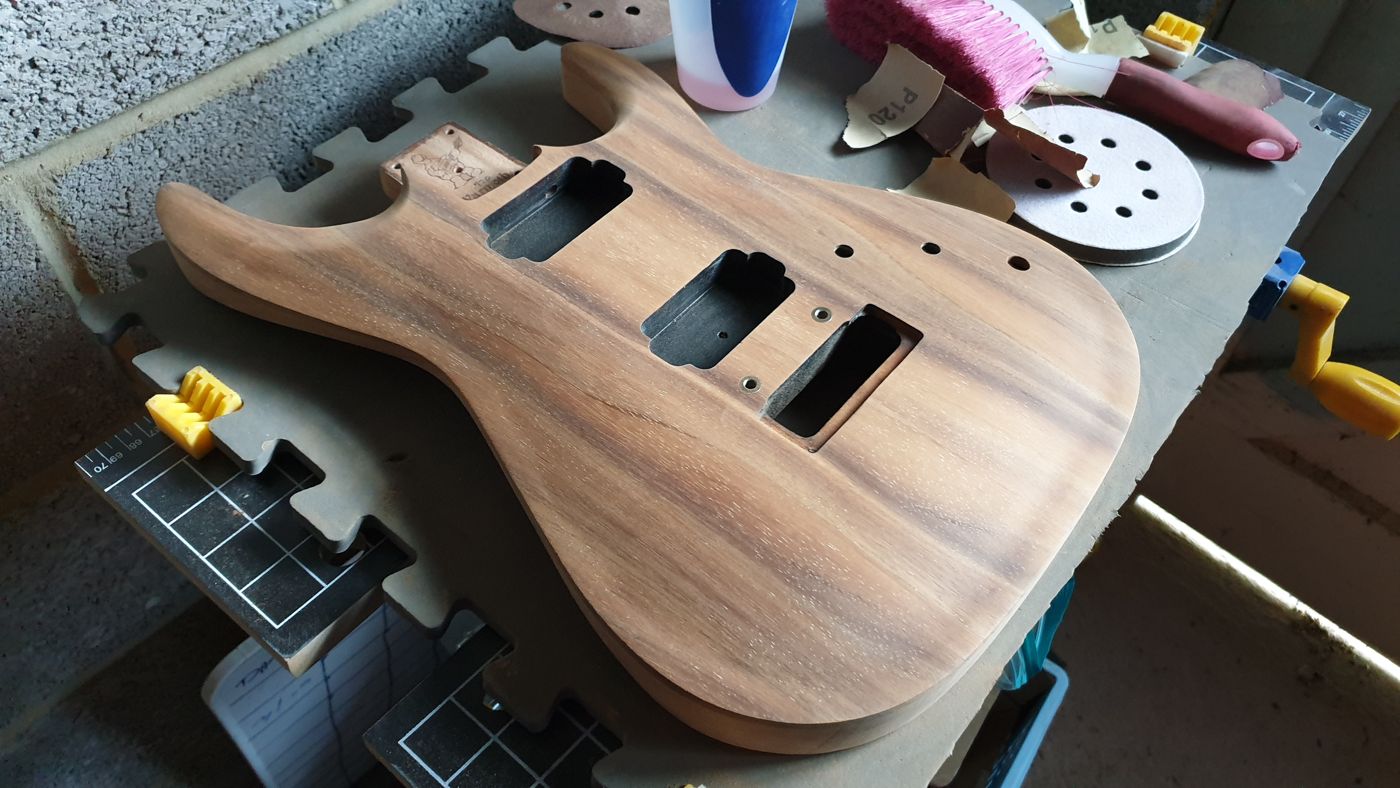
Bare wood and a plan
With the body bare, I could plan the guitar properly: dual concentric pots and a three-way switch, uncovered PRS Tremonti-style pickups, and a recess for a VS100-style bridge.
The first small concentric pots were rubbish, measuring 420 to 440k and rough to turn, so back they went and I ordered full-size Alpha ones instead. Meanwhile the forum thread turned into a lively debate on switching: master controls versus concentrics, a Freeway switch, toggles. @hendrix even scanned a control cover so it could be 3D printed.
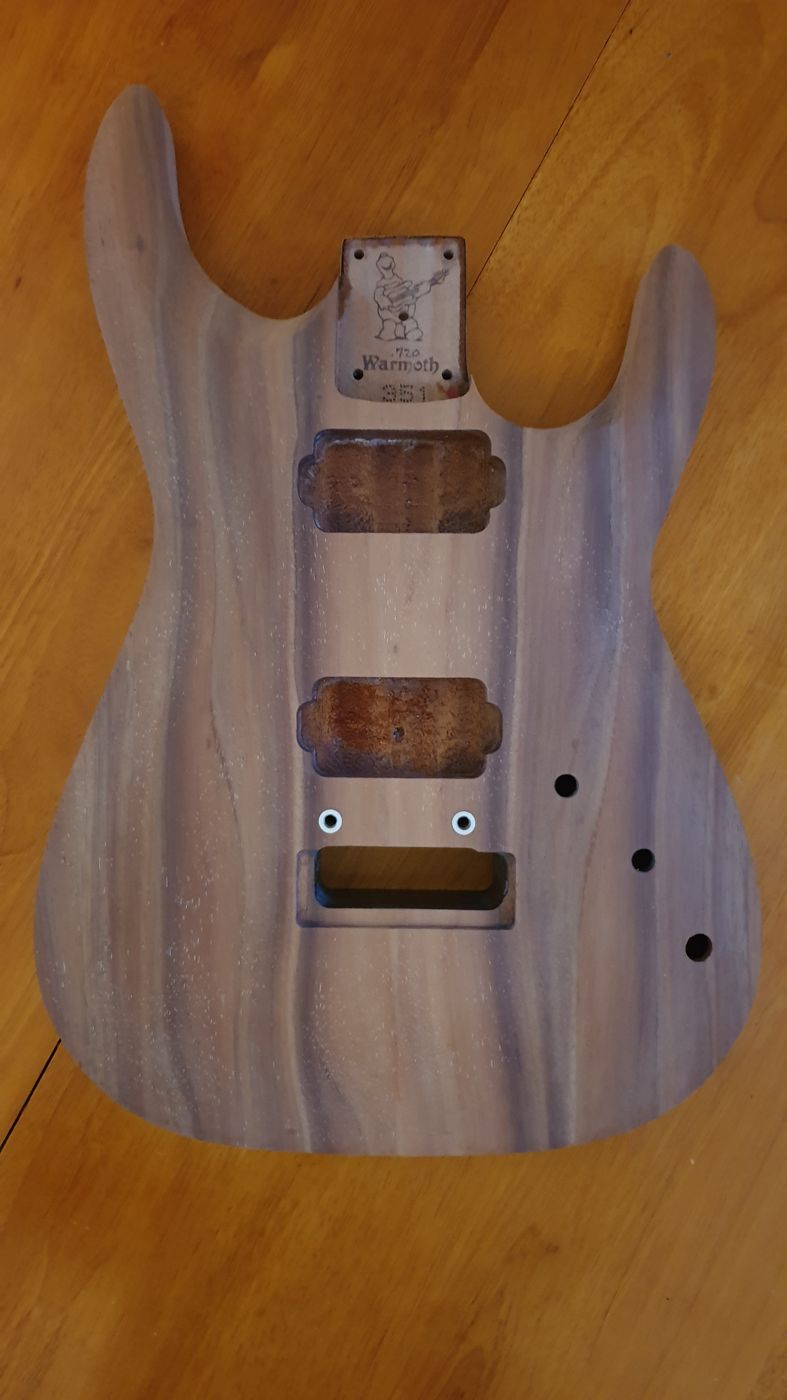
Hidden switches and shielding
A Freeway switch wouldn't fit, so I decided to hide two mini switches in the battery box instead. I designed a holder for two latching push switches in Fusion 360 and 3D printed it.
I sanded the body through 120, 180 and 230 grit, painted the cavities with shielding paint, and used acrylic nail varnish to reinforce the thin wood around the neck pocket. I bought a gold PRS HFS bridge pickup for £85, which only then revealed a new problem: it's 25mm deep and the cavity was 19mm. Direct mounting looked janky, so I ordered UK-made Anomaly pickup rings.
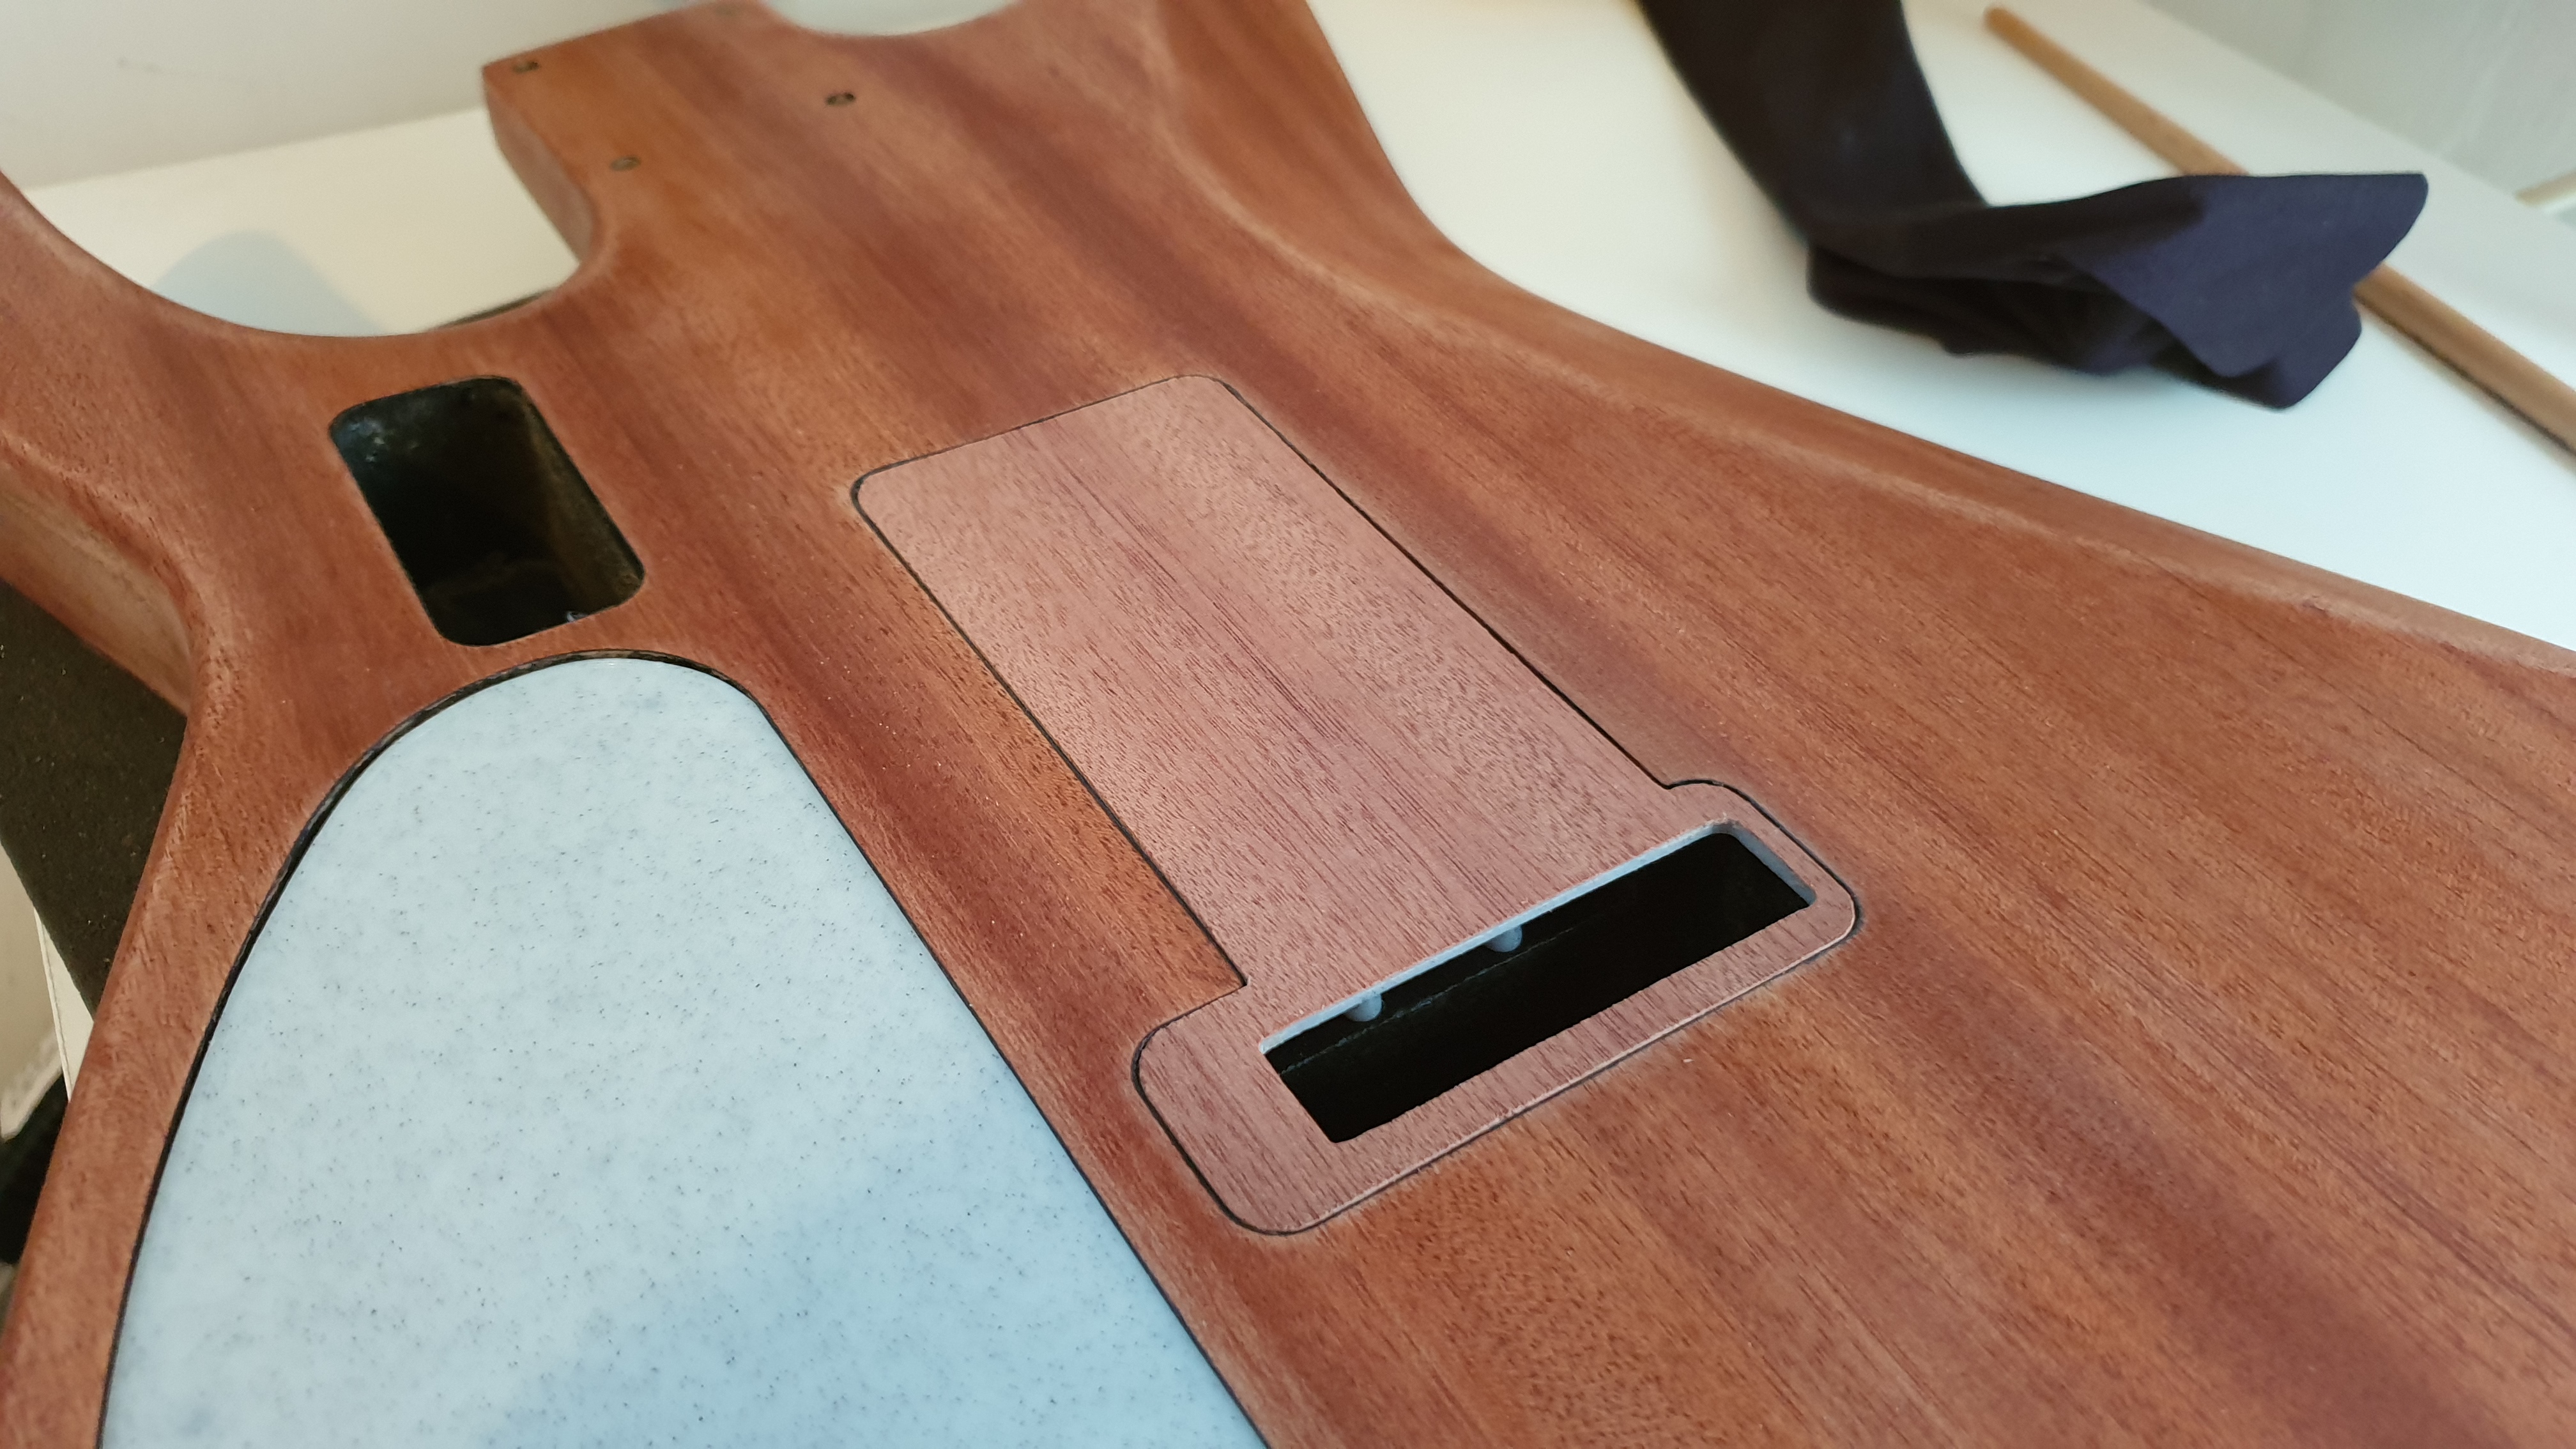
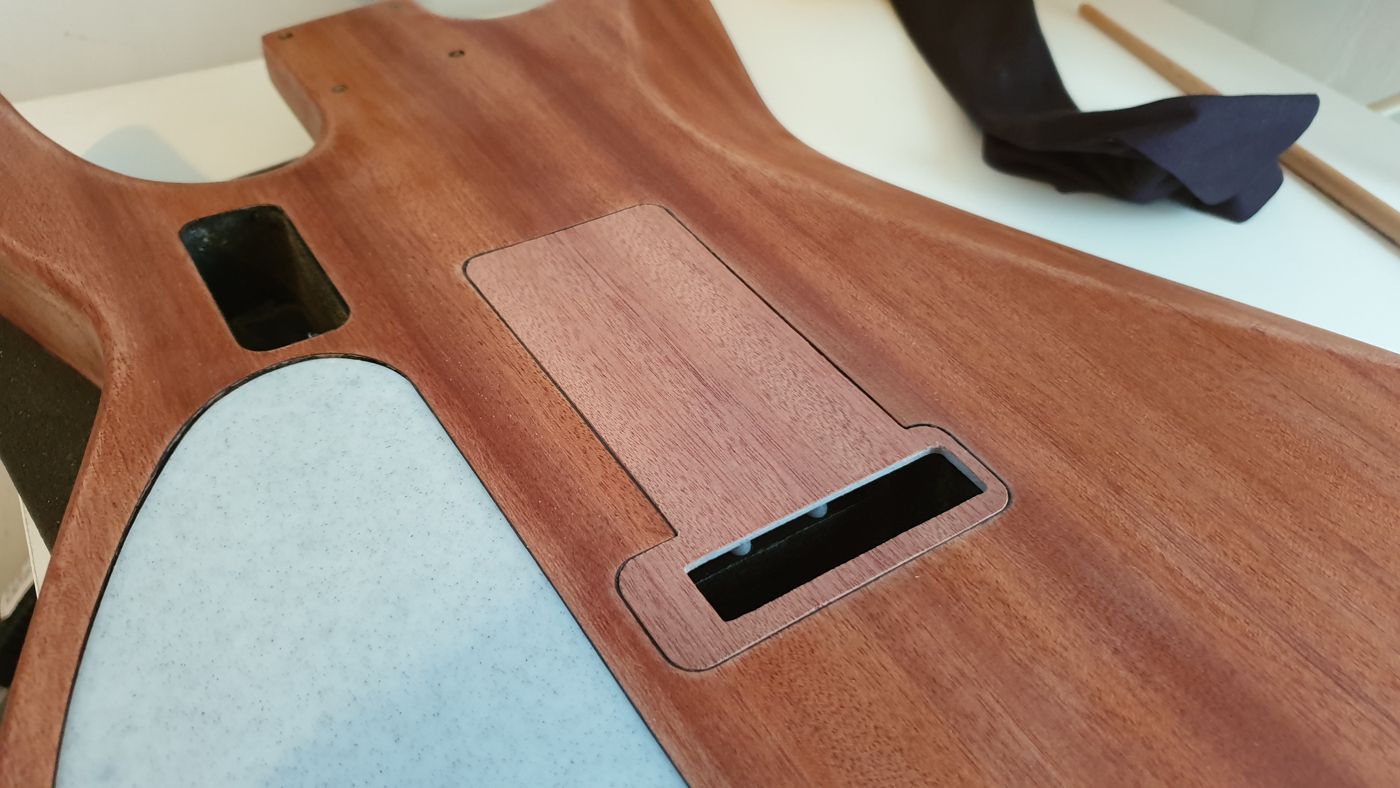
The covers would be screwless, held with Black Tac and magnets, and veneered with mahogany from eBay. A wipe of bioethanol showed what the koa figure would look like under oil, and that kept me going.
The white specks
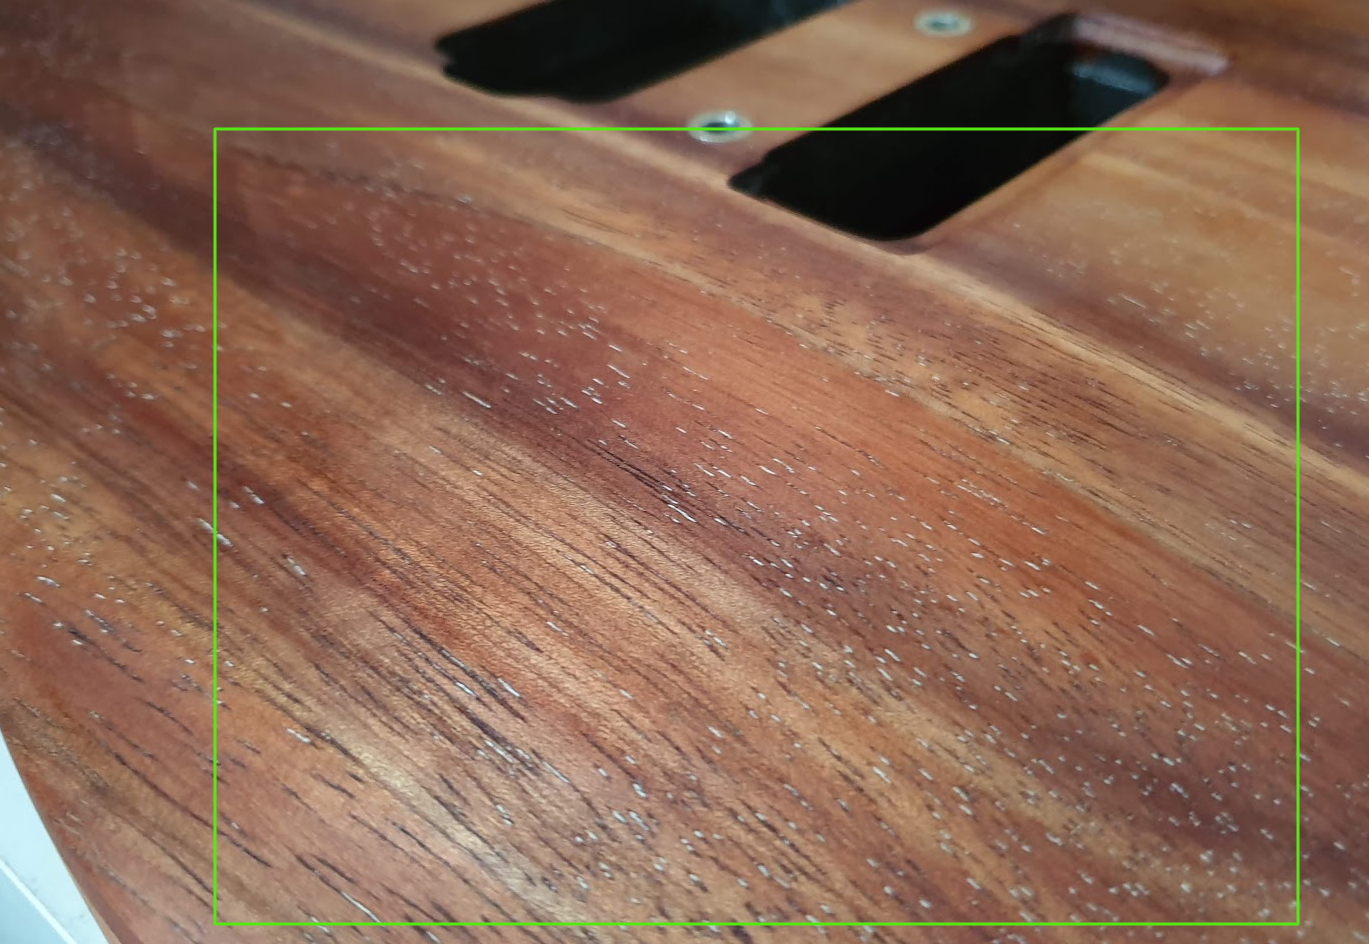
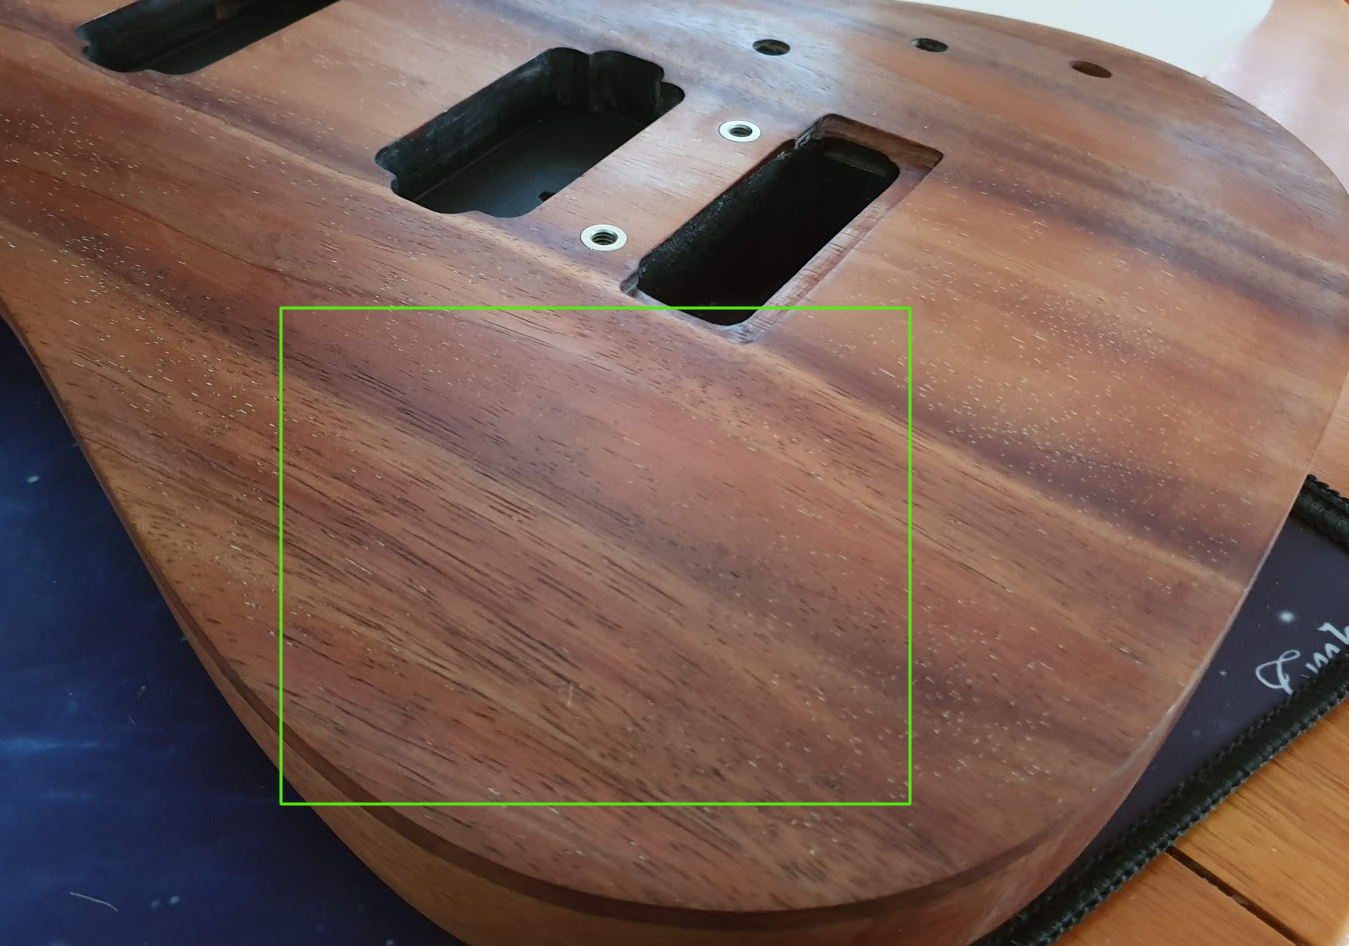
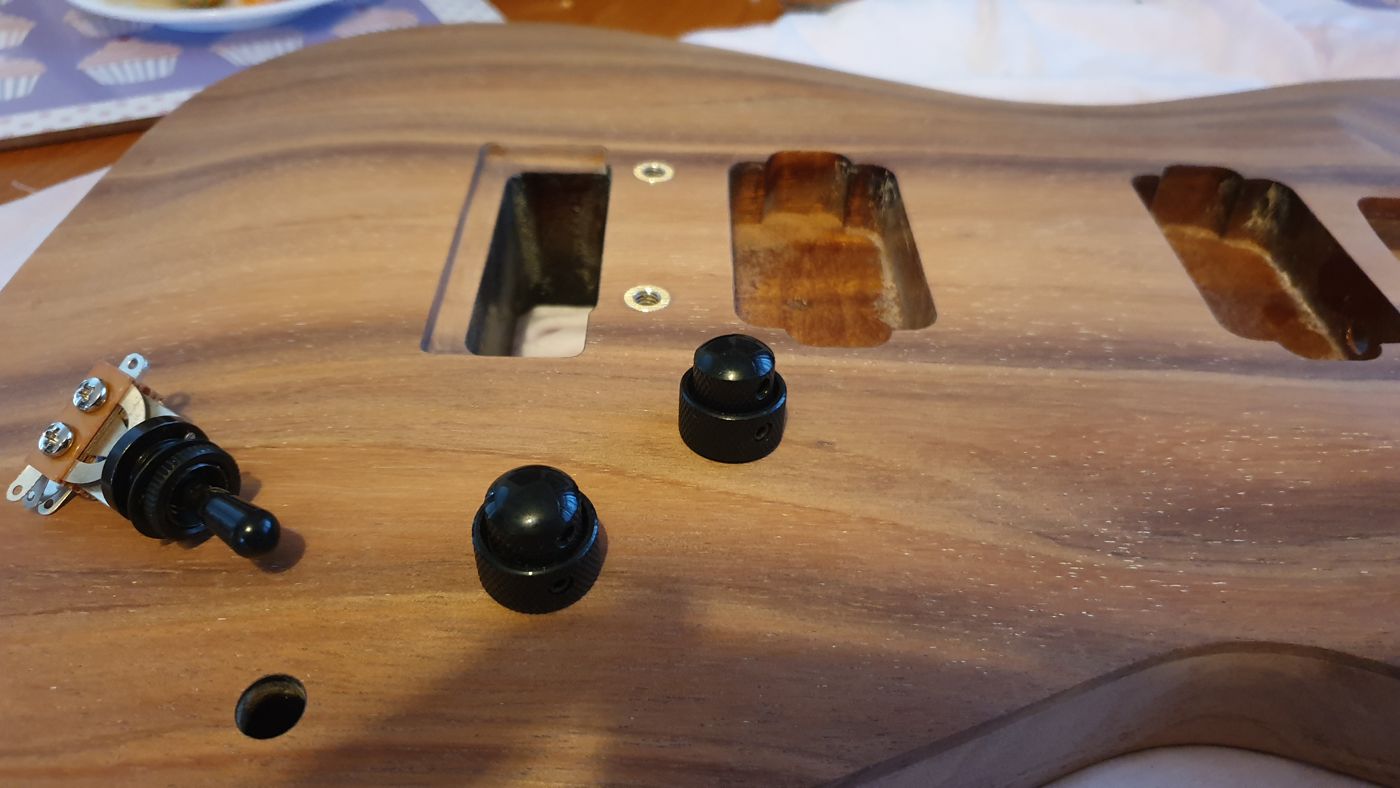
The first Tru-Oil colour test, fuelled by a whisky, brought the koa to life. It also revealed the white specks. Warmoth had used a white grain filler under the black burst, and it was sitting deep in every pore.
Acetone didn't shift it. So I picked the specks out by hand with a pin, thousands of them, for hours at a time. Progress was about two square centimetres a day. On the forum, one theory was that the white was clouded epoxy pore filler; having worked with plenty of epoxy, I was fairly sure it was just white filler.
Salt and pepper
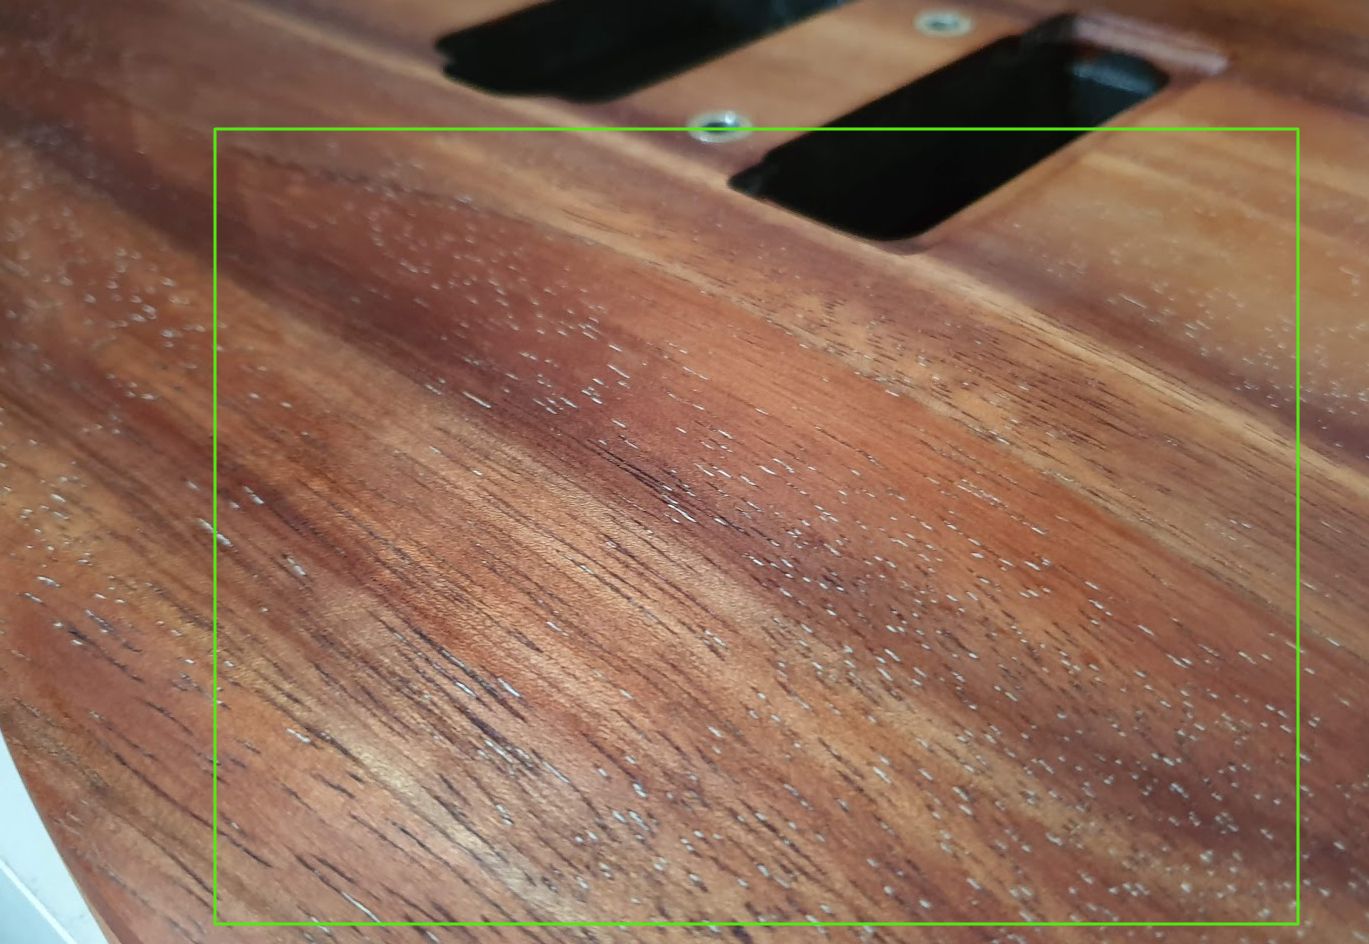
Next I tried filling the grain with a Tru-Oil slurry, wet sanding at 320 so the dust and oil packed into the pores. On the back, the chatoyance started to show, that three-dimensional shimmer koa is famous for.
But after five or six layers, clusters of white were still visible on the front: a salt-and-pepper look I couldn't live with. So it was back to acetone and 220 grit, more specks, and this time craft knives to dig out the worst of them.
Filler and sealer
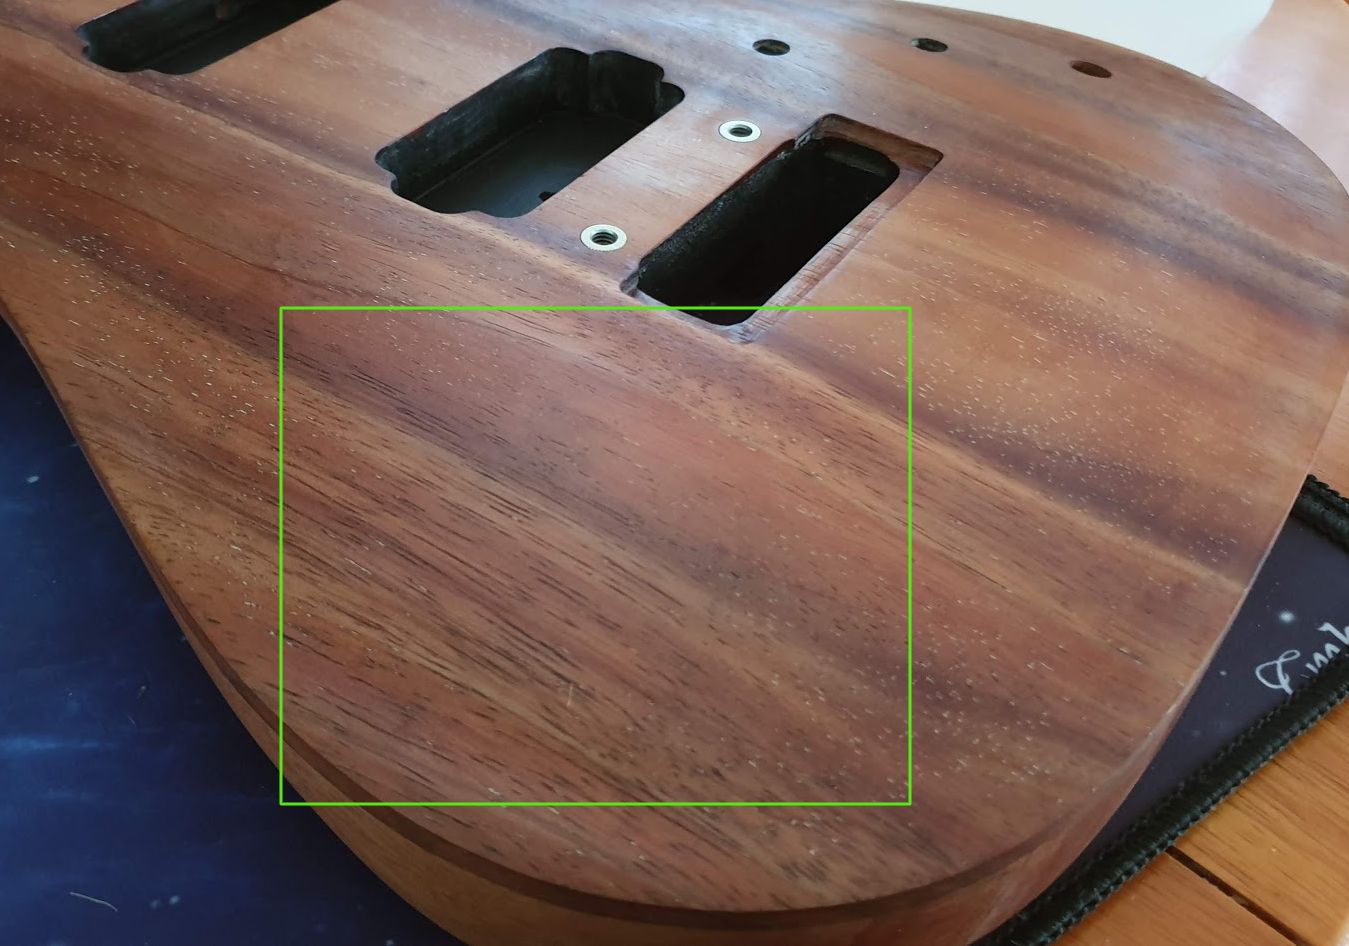
The fix was Birchwood Casey Filler & Sealer, which I'm fairly sure is basically clear nail varnish: the thing that failed me on the very first repair. Each coat needed eight to ten hours to cure, then a sand back at 220.
I drop-filled the deepest pores with a cocktail stick and followed the StewMac strip-sanding method. After many coats the body was 99% flat, and I reckon it saved me around fifty cycles of Tru-Oil.
Veneered covers and a neck decision
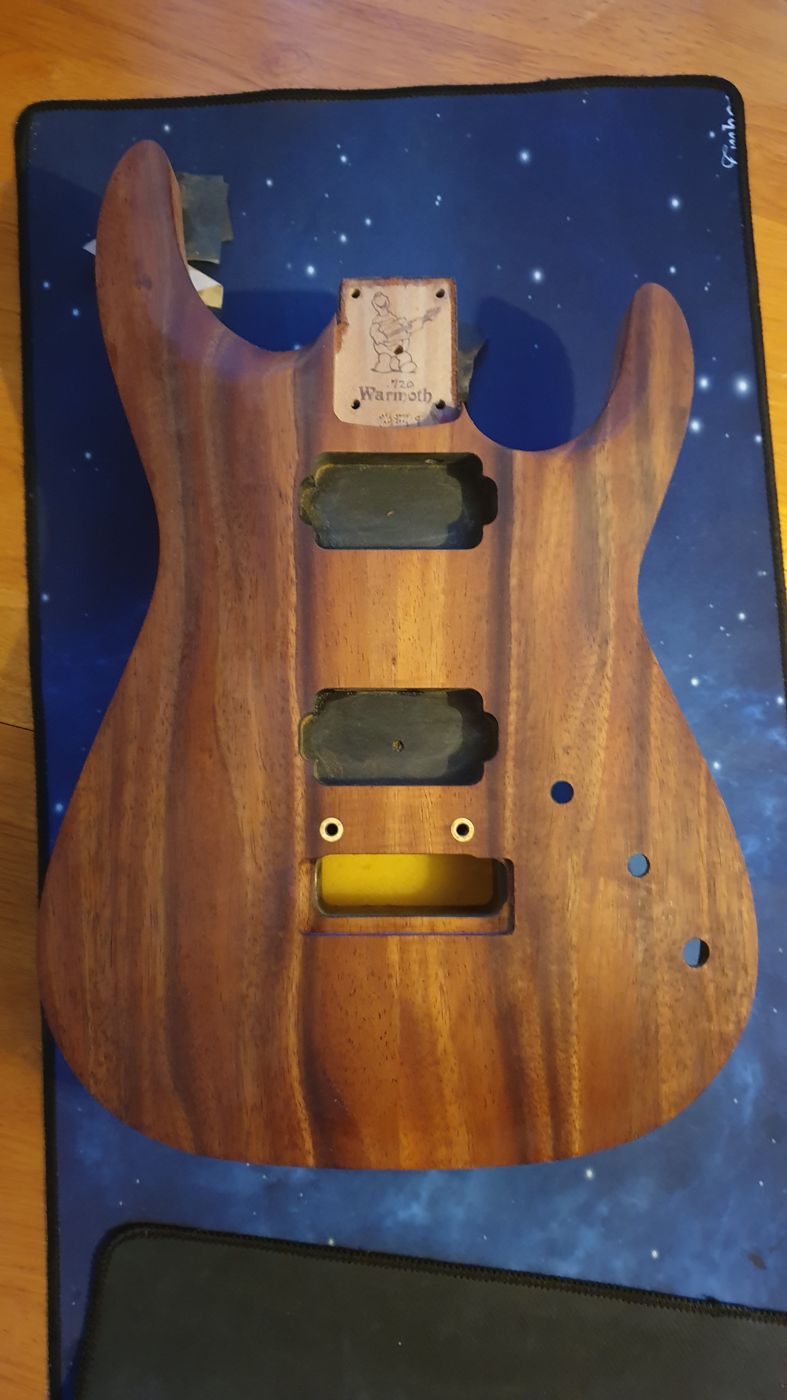
I 3D printed a tremolo cover designed to clear the Schaller Sureclaw, with legs that sit in spring slots two and four, and veneered it using plastic cement on Nexrex's recommendation. All three screwless covers got the same treatment with £1 of eBay mahogany veneer.
I'd also just ordered a Warmoth bird's-eye maple neck with a ziricote board, and couldn't decide which guitar should have it. In the end the bird's-eye went to the Strat, and the roasted flame maple neck came here.
Getting Tru-Oil right
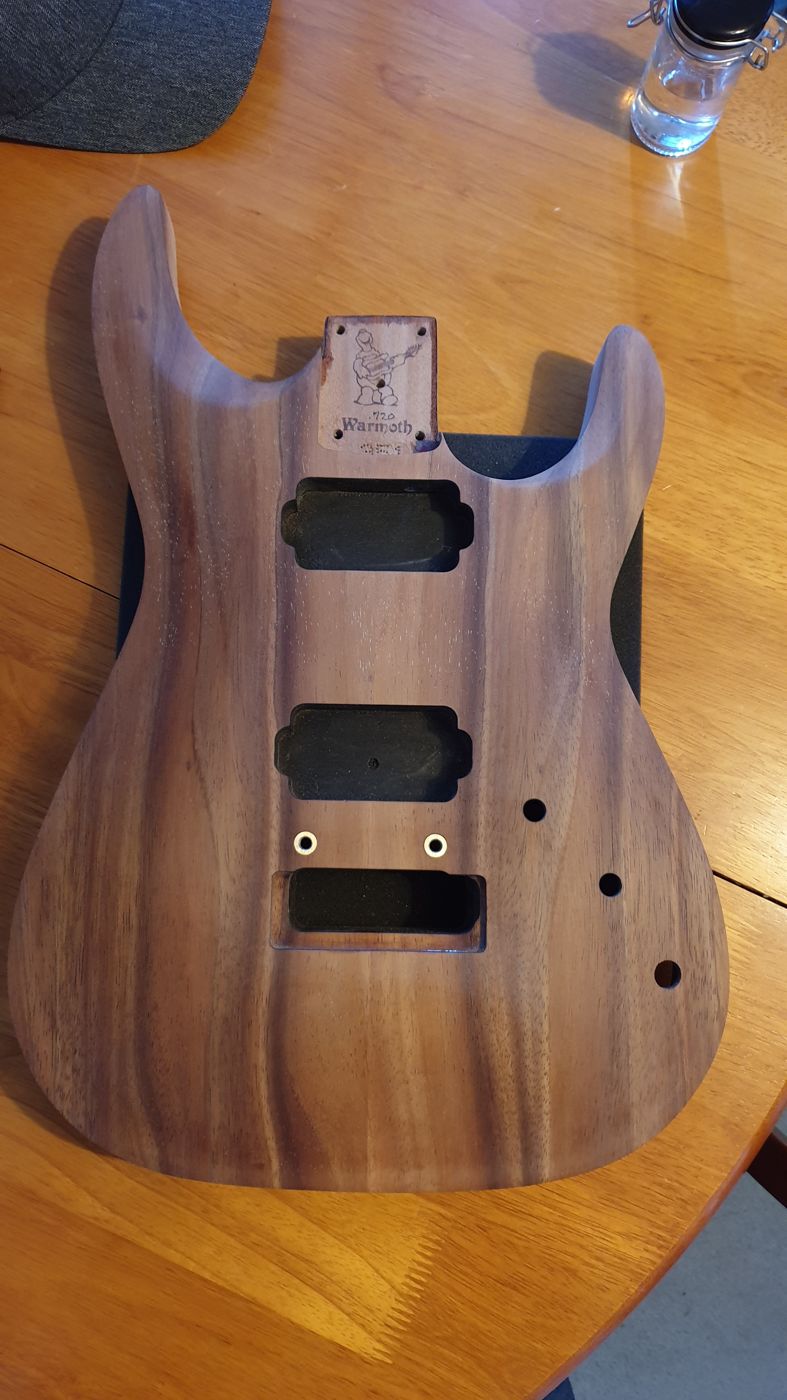
The oil coats were picking up fibres and showing pores that hadn't filled. Wet sanding at 800 helped. Cheesecloth made things worse. What finally worked was Tru-Oil cut 60/40 with white spirit and rubbed in with a nitrile-gloved finger. The pores were 99% gone, and it dried glossier too.
By the end of June I'd settled on my method: coffee filters as applicators, a 3:1 cut, long even strokes and forty minutes' drying between coats. I also found a 1987 PRS HFS and Vintage Bass set for about £100 and gave them Cosmo covers with black pole bolts.
Birthday tools
July was about parts and patience. I ordered the Sureclaw and a set of fret tools, and in between I fixed a friend's Sheraton hollow body, swapping its pickups for 57/57+.
Birthday presents arrived in early August. I used a Dremel to deepen the pickup cavities for the HFS, polished the front through micromesh from 2600 to 9000 and Novus #2, and deliberately left the back with a little texture. Then came an eleven-step level, crown and dress on the roasted neck.
Coca Koa
With the Sureclaw fitted, the guitar started to look like itself, and it needed a name. All the browns and blacks made me think of Coca-Cola, and then CO-rona CA-ster: 'Coca Cola'. Then it hit me. 'Coca Koa'. Mic drop. Assembling it also made me realise how tiny a Soloist really is.
I used a tape method to line up the pickup rings and drilled by hand. Instead of fixed 1.1k and 2.2k resistors for the partial splits, I used trim pots, 5k for the neck and 10k for the bridge, so the split could be tuned by ear.
For the wiring I 3D printed a soldering jig, shielded the covers, and used a TS100 iron, plenty of flux and a modular approach, with a 'ground king' (like a rat king) as the ground junction because the pots were too small to use. Looking back, those garage sessions were my lockdown catharsis, and the project built a real friendship with Nexrex along the way.
Done
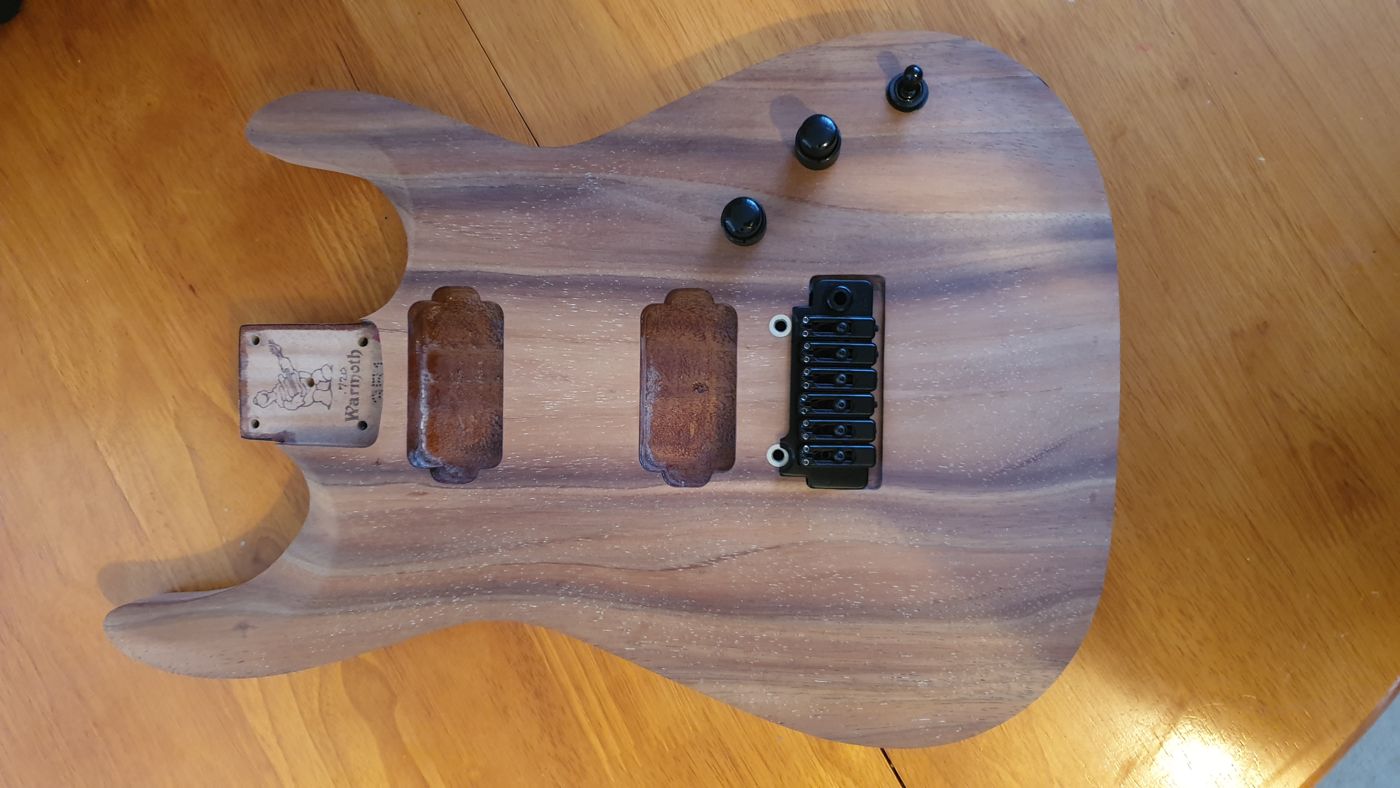
Four months after I first took sandpaper to it, Coca Koa was finished: a rescued koa Soloist with a lacquer-free Tru-Oil finish, the roasted flame neck, vintage 1987 PRS pickups and a recessed Schaller tremolo.
I'd played it every day for a week by the time I posted the final photos. Not bad for someone who started with no woodworking experience and a few sheets of sandpaper.